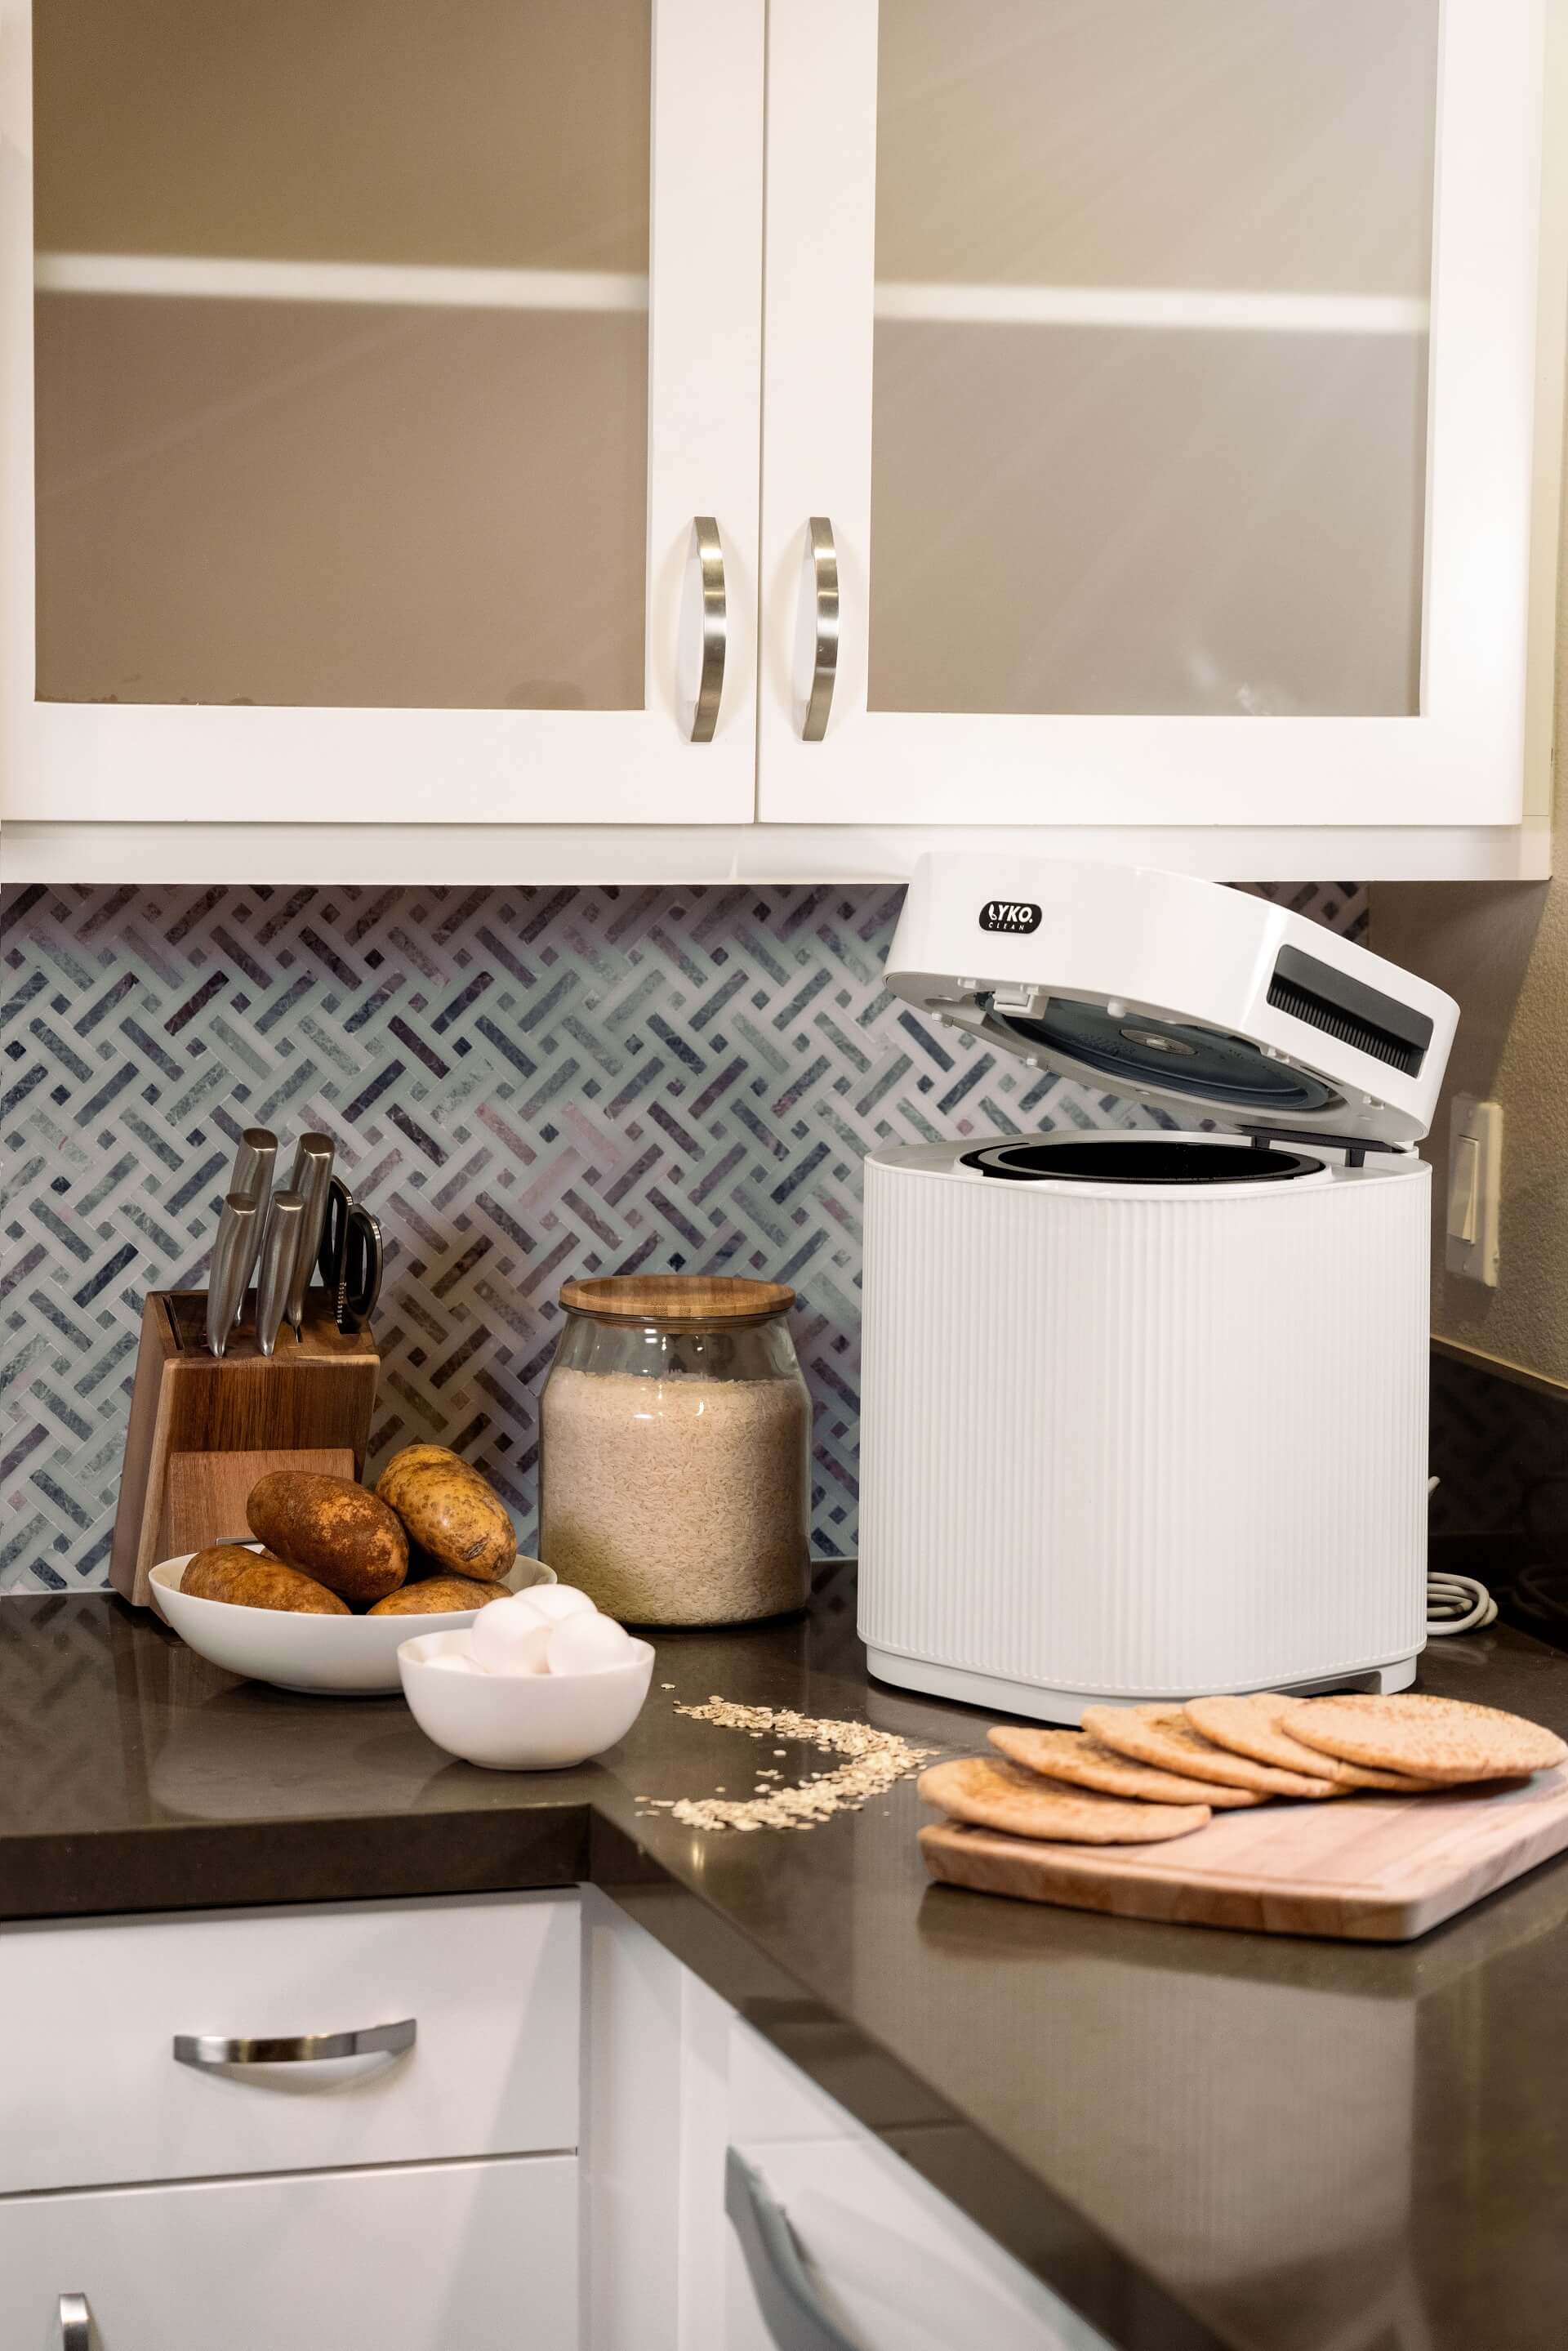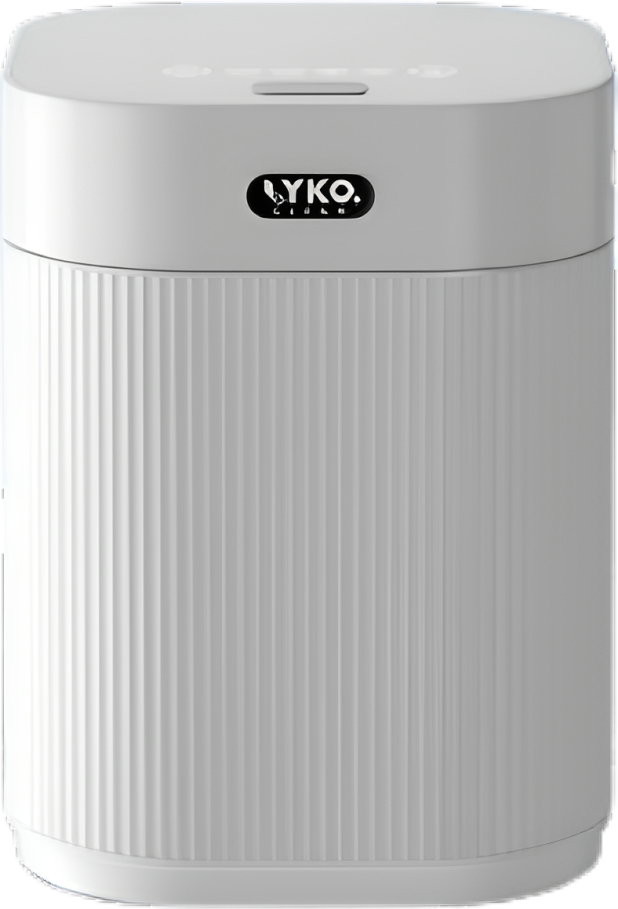
TECHNICAL SPECIFICATIONS
| Product Name | LykoClean Kitchen Composter |
|---|---|
| Model Number | MD-11200 |
| Rated Voltage | 110V |
| Power | 530W (Max) |
| Bin Capacity | 2.5L |
| Dimensions | (L)11.4 x (W)12.3 x (H)15 Inch |
| Weight | 8.1 Kg |
how to use
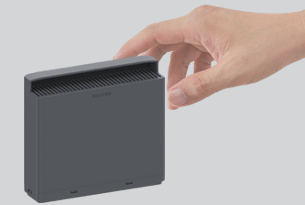
Remove the protective film from the activated charcoal filter.
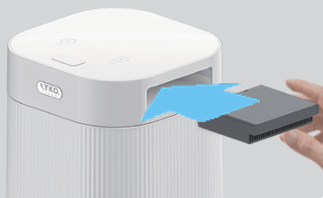
Carefully insert the activated charcoal filter in the orientation marked on the protective film.
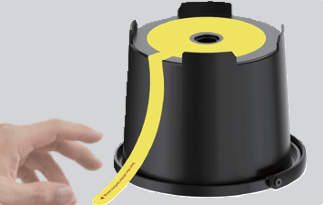
Remove the protective film from the bottom of the compost bin.
-
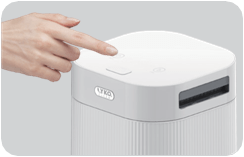
1. Press the button on the lid to open it.
-
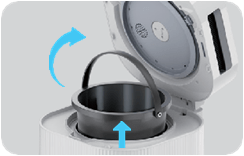
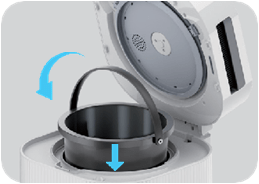
2. Remove the compost bin using the handle.
-
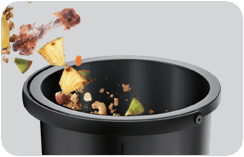
3. Place food waste into the compost bin.
-
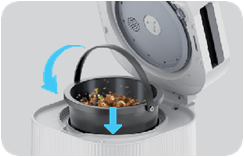
4. Replace the compost bin back into the composer.
-
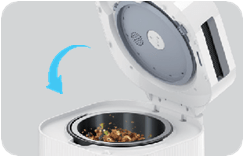
5. Close the lid.
-
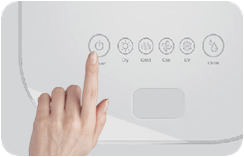
6. Press the Power indicator.
INDICATOR LIGHTS
To explain the meaning of each indicator light indicated
-

1: The drying mode will turn on once you press “Power”. The heating plate will start to dry and dehydrate food waste while the blender start work periodically.
Duration: 0.5-3 hours
-

2: This means the composter will dehydrate and grind up waste simultaneously. The heating plate will continue to operate while the blender will operate at full capacity.
Duration: 1-4 hours
-

3: This means the drying and grinding processes have been completed. The composter will cool itself and sterilize to prevent mold and bacteria from developing.
Duration: 0.5-1 hours -

4: All lights will flash and buzzer will ring once the whole process is complete. The composter will enter storage mode. Empty the compost bin after every use.
SMART SELF-CLEANING
-
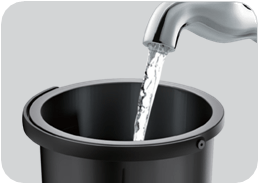
1. Pour water into the compost bin, under max-line.
-
2. Place the compost bin back into the composter.
-
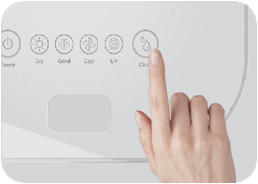
3. Press the “Clean” indicator on the panel.
-

Once the “UV” indicator turns on, the composter will sterilize for 30 mins.
-

Once the “Clean” indicator is on, water will boil for 30 mins.
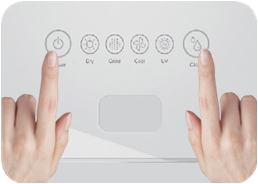
To clear fault codes:
If the machine malfunctions, or indicators flash while buzzing: Long press "Power" & "Clean" indicators on the touch panel for 10 seconds clear fault codes.
*If you open the lid mid-cycle, the composter will enter Restrictive Mode. You will be UNABLE to re-start the device until the temperature of the heating plate reduce to default numbers.
FOR STORAGE
1. After composting or cleaning, LykoClean will automatically enter "STORAGE" mode. While the unit is in this mode, the fan and the UV lamp may still operate to prevent mold and bacteria from forming.
2. The "UV" indicator will flash in "STORAGE" mode.
Note:
Do not attempt to compost any thing other than food waste in the unit, such as glass, metal, fabrics or wood. Likewise, do not attempt to compost large bones, such as pork or beef bones, fruit pits, candy, gum, nuts or hard shells as these materials may cause serious damage to the compost bin, and/or cause a motor overload. Do not add oil, pesticides, chemicals, flammable materials or compounds, or water into the unit. We do not recommend leaving unprocessed food waste in the unit for long periods of time. Leaving organic matter in the enclosed unit will generate odors, methane gas, and may attract fruit flies or other pests.
FUNCTIONAL DISPLAY
-

POWER
Turns on and off the unit.
-

DRY
Dehydrates and reduces food waste volume by up to 90% of its original volume, removes foul odors and reduces methane production.
-

GRIND
Once the food waste has been reduced in size, this process further breaks down the food waste into smaller, powder-like particles which can be easily mixed in with soil to release nutrients.
-

COOL
This process returns the unit and contents to room temperature for safe handling. This also continues the aeration and dehumidification.
-

UV LIGHT
Eliminates harmful pathogens.
-

CLEAN
Helps get rid of remaining particles that are stuck to the compost bin. It emits heat to dry up excess oils and uses UV to eliminate harmful pathogens.
WHAT CAN I PUT IN LYKOCLEAN
can
Fruit and vegetable peels and scraps
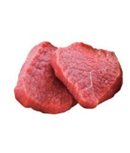
Meat, fish, shrimp and poultry
scraps
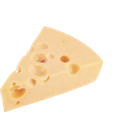
Cheese
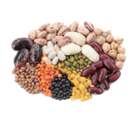
Beans, seeds and legumes
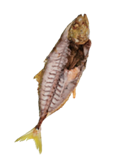
Chicken and fish
bones
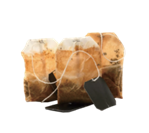
Coffee grounds filters and tea bags
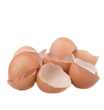
Eggs and eggshells
can't
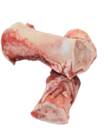
Large bones (beef, pork and lamb)
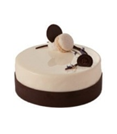
Cooking oils, grease, cake icing, sauces, syrups, milk, liquids
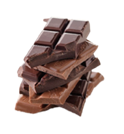
Candy, gum, chocolates and sugary items
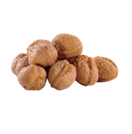
Hard pits & nuts (peach pits, apricots, etc)
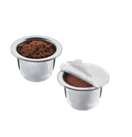
Coffee Pods
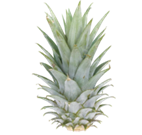
Pineapple leaves

Ice cream and yogurt
BEST PRACTICES
Cut UpPrior to Composting
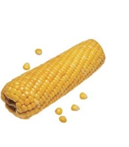
Corn cobs & husks
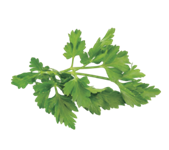
Fibrous herbs (i.e. parsley and cilantro)

Fibrous vegetables (i.e.asparagus and celery)

Large fruit seeds and peels
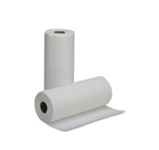
A SMALL amount of paper towel or tissue

Dead plant/flower stems & tougher weeds
In Moderation
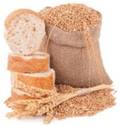
Starches (i.e. rice, bread, pasta. noodles, cereals, grains, etc.)

Whole fruits or a high ratio of sugar-rich fruits
.
TROUBLESHOOTING GUIDE
| Concern | Possible Causes | Solution |
|---|---|---|
| "Dry" and "Grind" indicator lightsare flashing at the same time accompanied by a warning sound. | Waste residue is stuck in the bin |
|
| Blade for grinding is stuck | ||
| "Grind" and"Cool" indicator light sare flashing at the same time accompanied by a warning sound. | Overheating; Compost bin temperature is too high. |
|
| Concern |
|---|
| "Dry" and "Grind" indicator lightsare flashing at the same time accompanied by a warning sound. |
| "Grind" and"Cool" indicator light sare flashing at the same time accompanied by a warning sound. |
| Possible Causes |
|---|
| Waste residue is stuck in the bin. |
| Blade for grinding is stuck |
| Overheating; Compost bin temperature is too high. |
| Solution |
|---|
| Overheating; Compost bin temperature is too high. |
|
|
Note:
If unit is running and switches off due to a sudden power outage, open the lid to restart when power is available. Unit will automatically restart cycle. For any other concerns, please contact our service center. Do not attempt to disassemble or repair the unit on your own as this may void warranty.
IMPORTANT SAFETY GUIDELINES
Carefully read all instruction materials accompanying the product.
- To avoid electrical shocks, keep cords, plugs and portable electrical appliances away from water and other liquids.
- Unplug the unit from the outlet when not in use, prior to servicing and adding/removing parts, and before cleaning the unit.
- Avoid touching moving parts.
- Do not operate any appliance with a damaged cord or plug, a unit showing signs of malfunction, or any product that has been dropped or damaged in any way.
- The use of attachments that is not recommended or sold by the manufacturer may cause fire, electric shock, or injury.
- Do not let electrical cord hang from counter or table edge.
- Unit must only be plugged into properly grounded outlets.
- Turn off and unplug the unit prior to opening the lid.
- Do not touch any hot surface.
- Use the handles or knobs provided for safe handing.
- Do not place the unit on or near a hot gas or electric burner.
- Keep unit away from direct sunlight.
- Place the unit on a flat, even and dry surface.
- Do not use appliance for any purpose other than its intended use.
- Keep the appliance and power cords out of reach of children.
- Do not add food waste directly into the machine without the bin installed in the unit.
- Do not open the unit during a cycle. Do not put your hands inside the unit unless it has completely finished cycling and has gone through all the cycle modes.
- Do not keep opening the machine during the cycle process. Every time you open the machine, the process will resume back to first stage.
- Refer to the user manual for what can and cannot be put in the composter.
REGULAR MAINTENANCE
I. To Clean the Exterior
- Wipe down the unit's exterior with a soft damp cloth.
- Remove excess moisture with a soft dry lint-free cloth.
- With particularly stubborn grime, add a small amount of dish soap to the cloth.
- Do not immerse your unit in water or liquids. This will damage your unit and may cause electric shock.
- Discard excess moisture collected in the drip tray.
II. ToClean the Compost Bin
- Remove the bin from the composter.
- Remove all blockages & loose particles from the compost bin.
- Wash the bin thoroughly with warm water with a small amount of dish soap.
- Dry with a towel or cloth.
- Allow the compost bin to air dry completely before replacing it into the
composter.
III. Activated Charcoal Filter
- Replace every 1-3 months, or as needed (when).
- Effectiveness varies depends on usage and type of food waste.
- Do not vacuum or wash the activated charcoal filter.
